


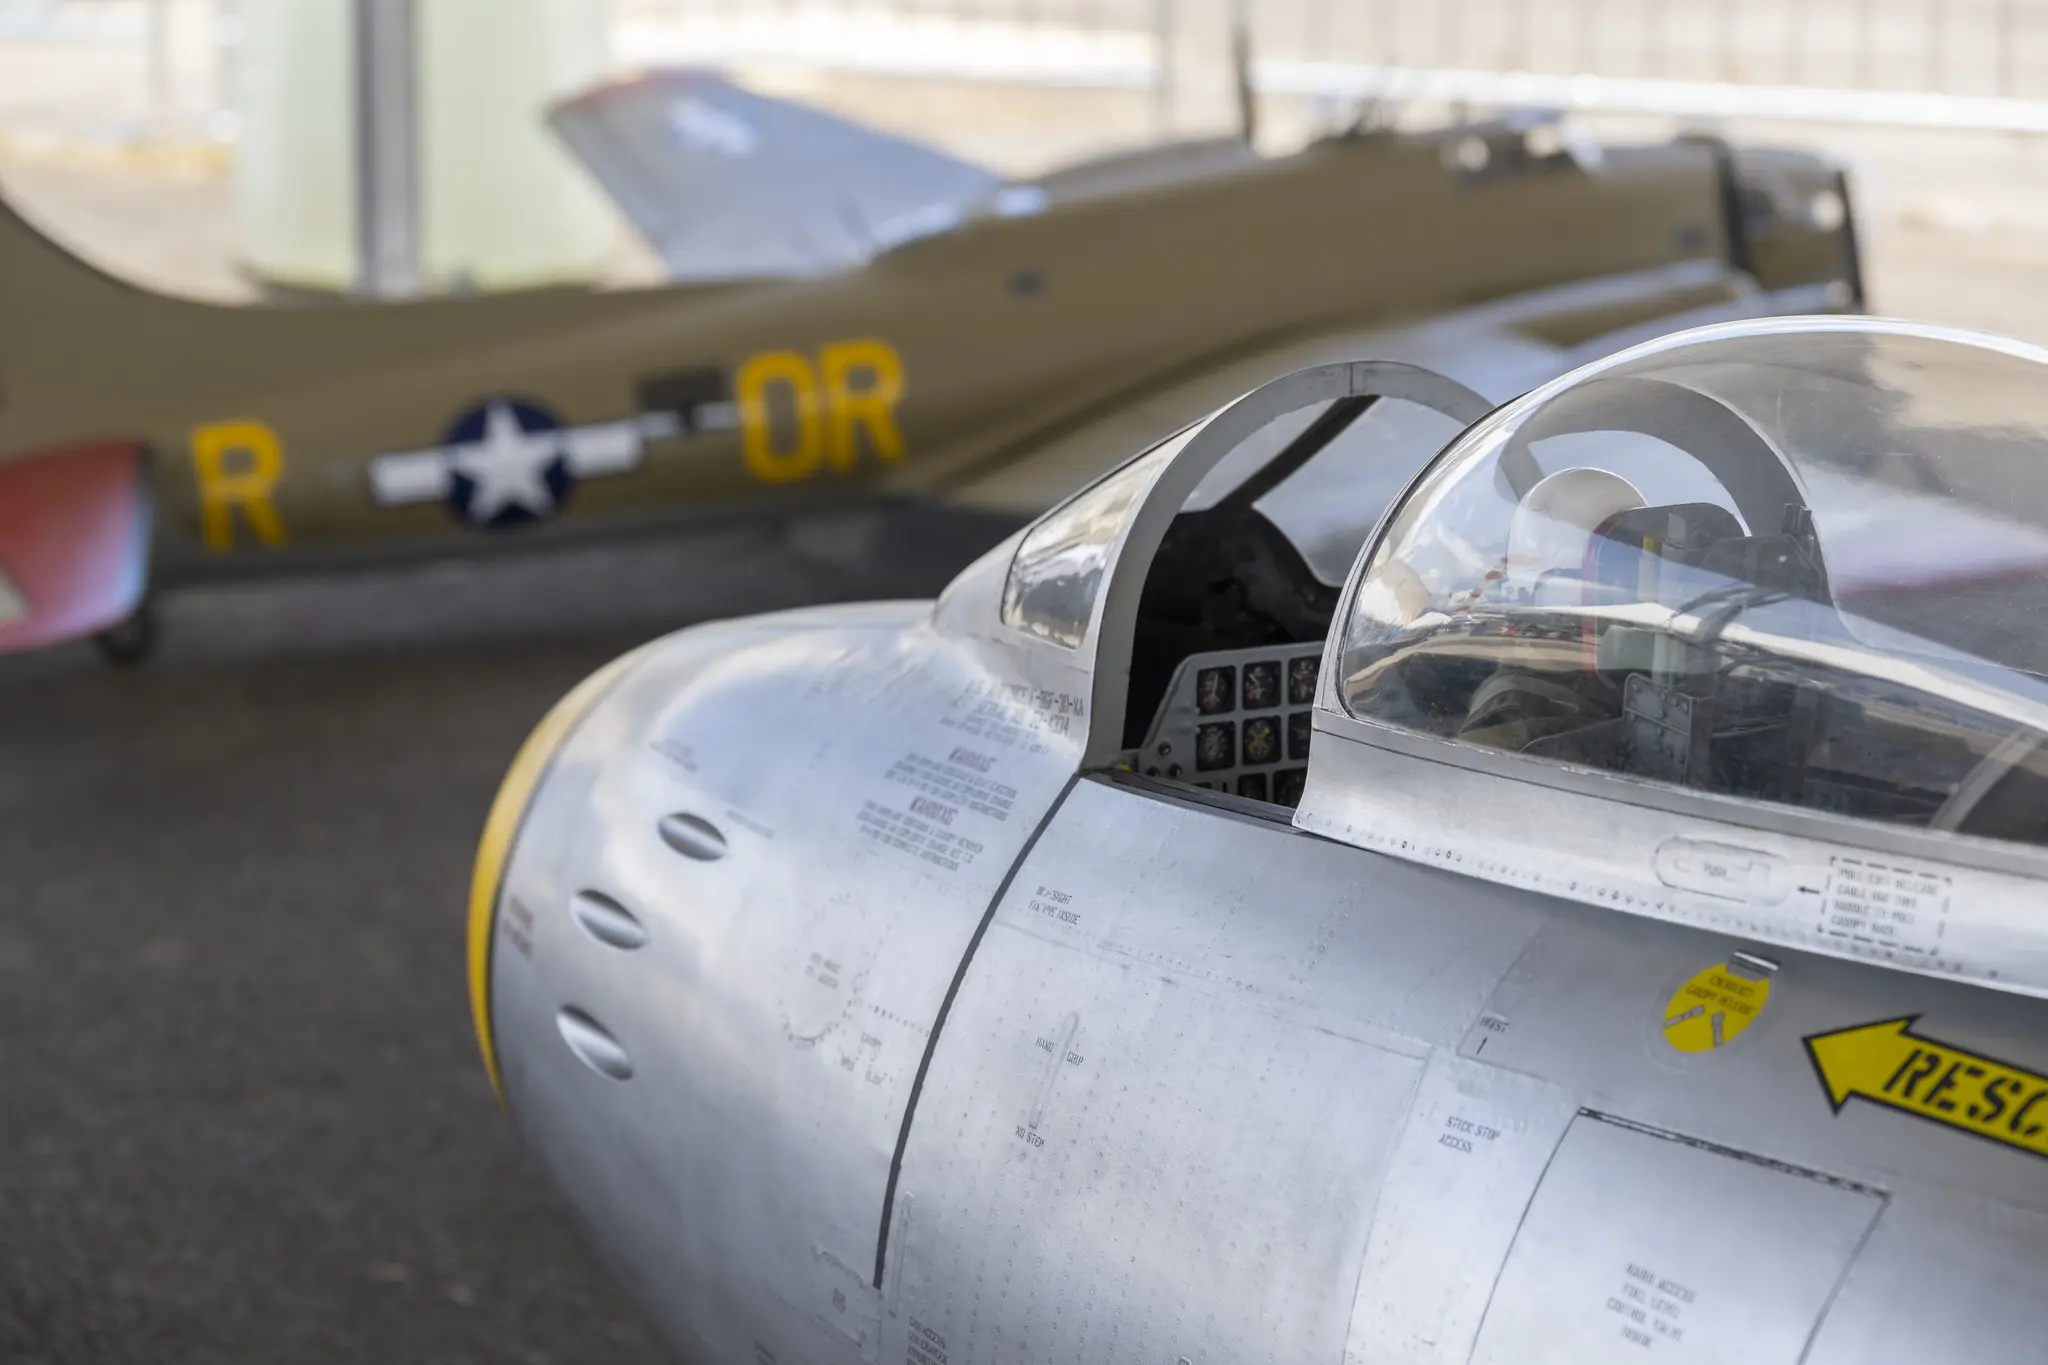

See Inside Our Library and Archive
See inside the Library and Archive for an exclusive behind-the-scenes journey as we begin to skim the surface of the different artifacts and aviation history within the Emil Buehler Perpetual Trust Library and Archive.
Pearl Harbor Aviation Scholarship Recipients: Inspiring Success Stories
Continuing our mission to support aspiring aviation enthusiasts, Pearl Harbor Aviation Museum proudly presents its annual scholarship program...
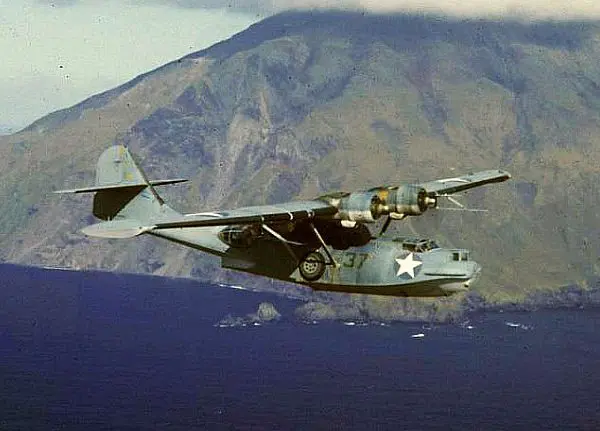
Legendary PBY Catalina
Prepare to delve into the remarkable legacy of the PBY aircraft, and explore the pivotal role this amphibious marvel played...

Introducing The 2023 Scholarship Recipients
Pearl Harbor Aviation Museum awards 16 scholarships to those who dream of a future in aviation Pearl Harbor Aviation Museum...
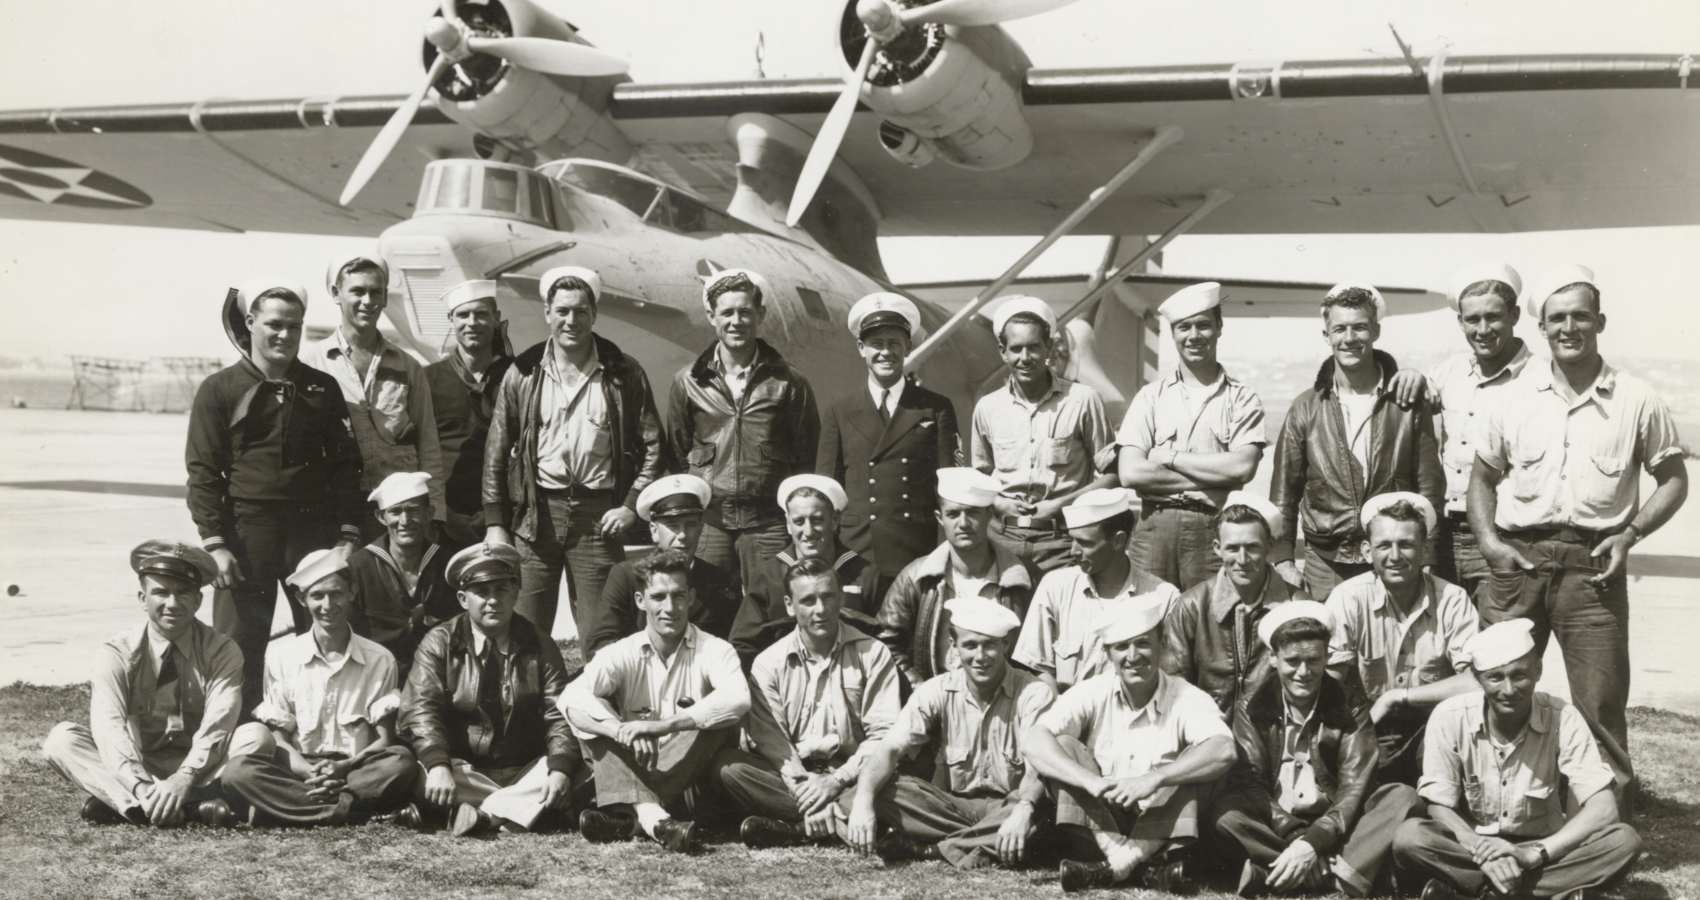
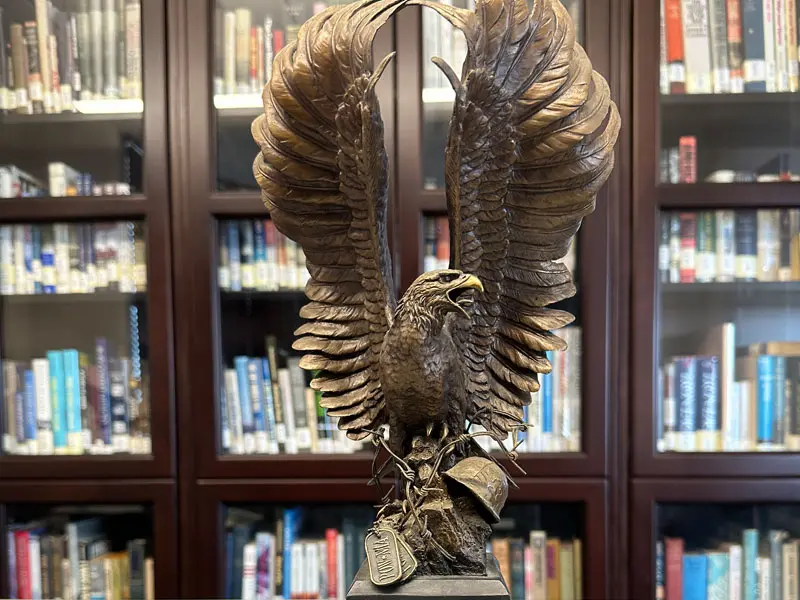
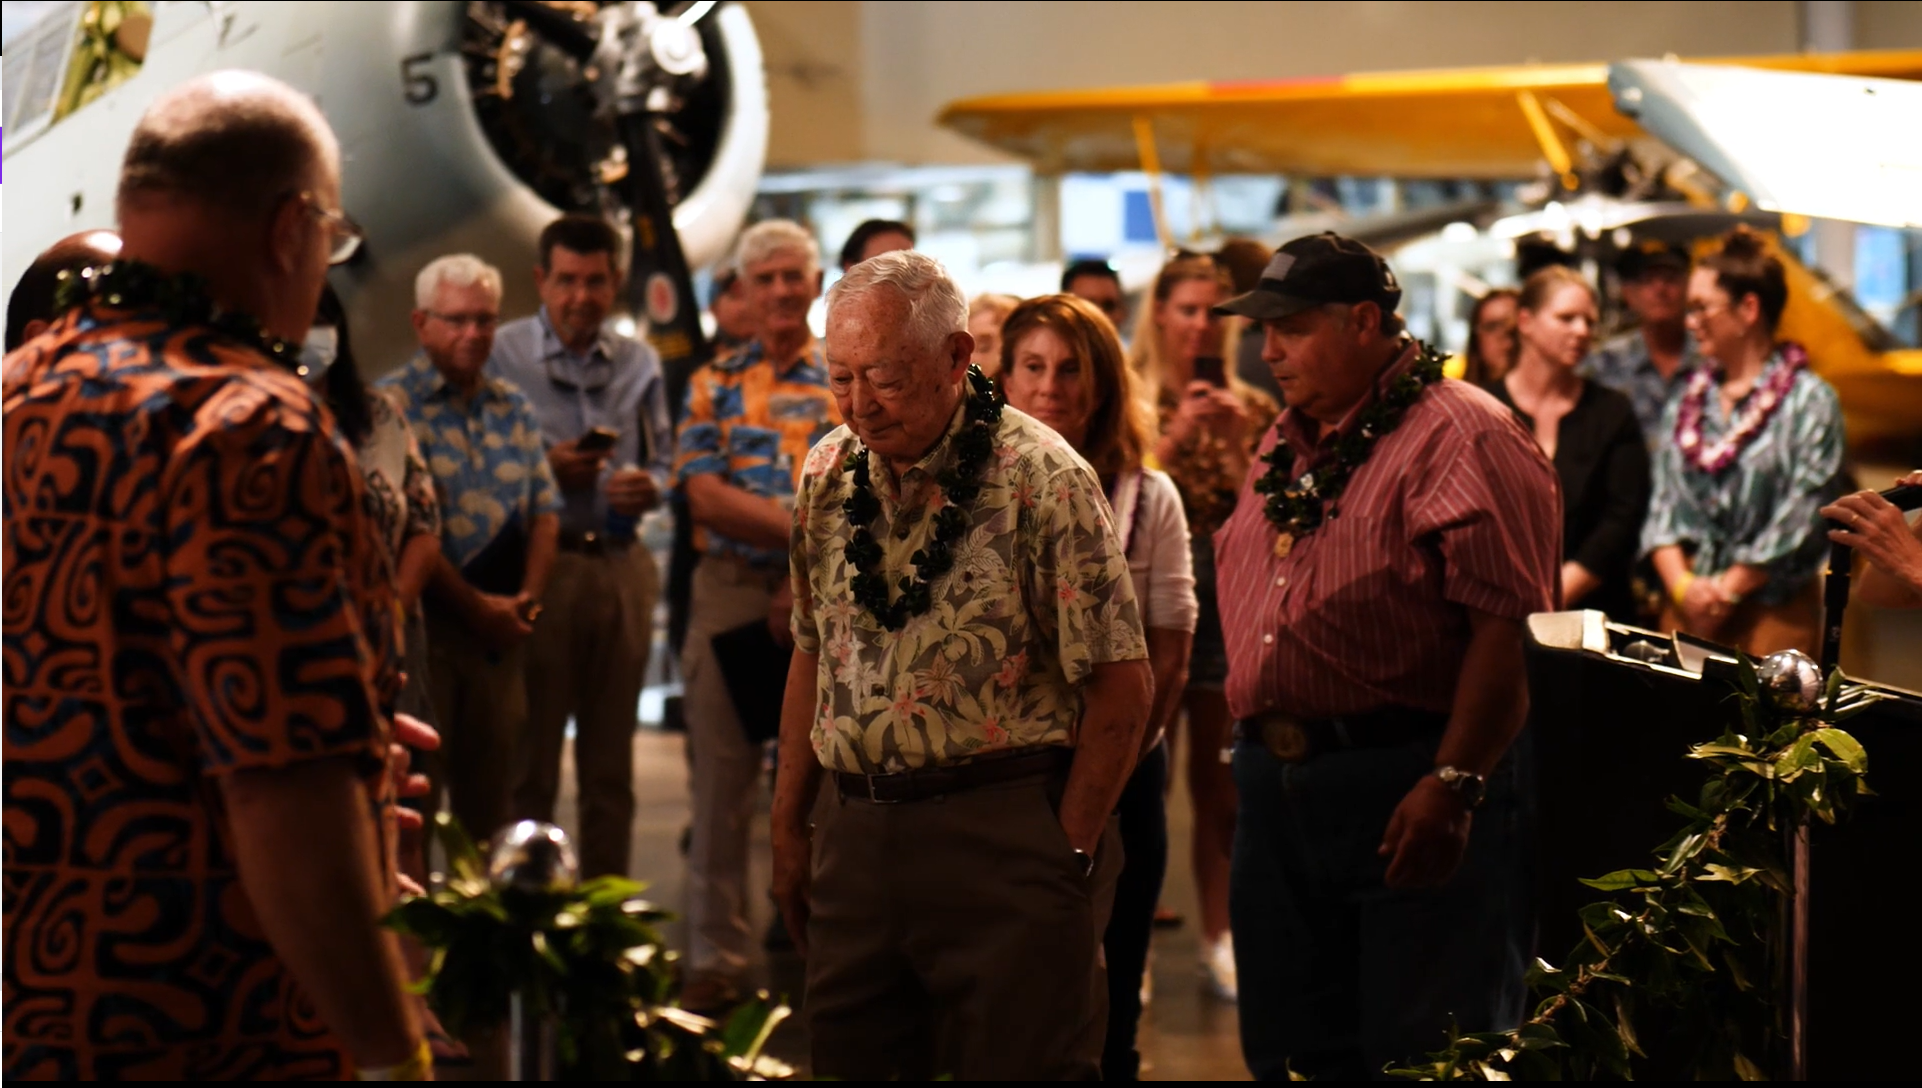
Orders To Pearl Harbor
Ken Sederquist, WWII Naval Aviation Pilot, VP-71 Written by Helen Sederquist Eglett Based on Ken's few comments, official documents, websites,...
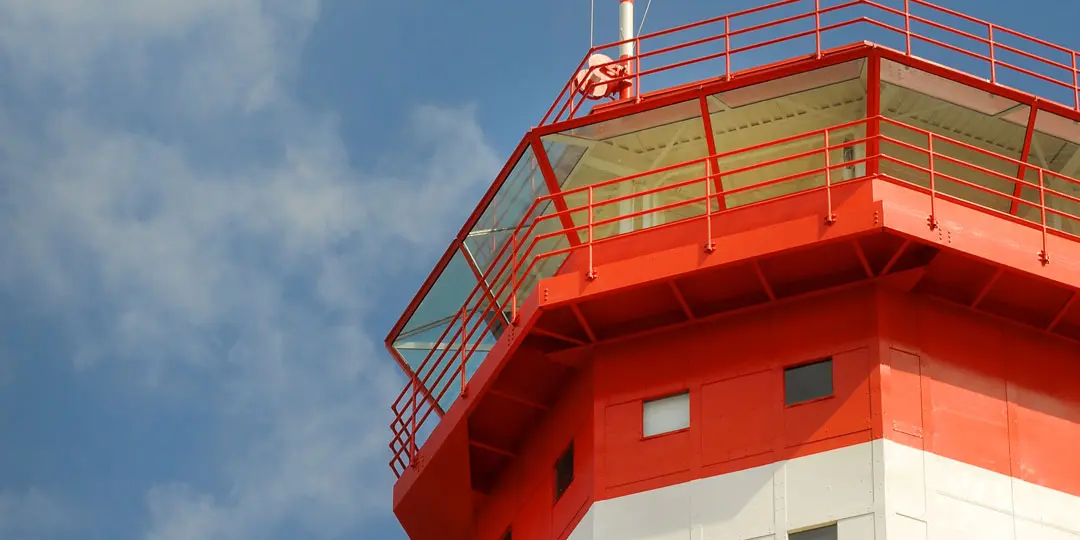
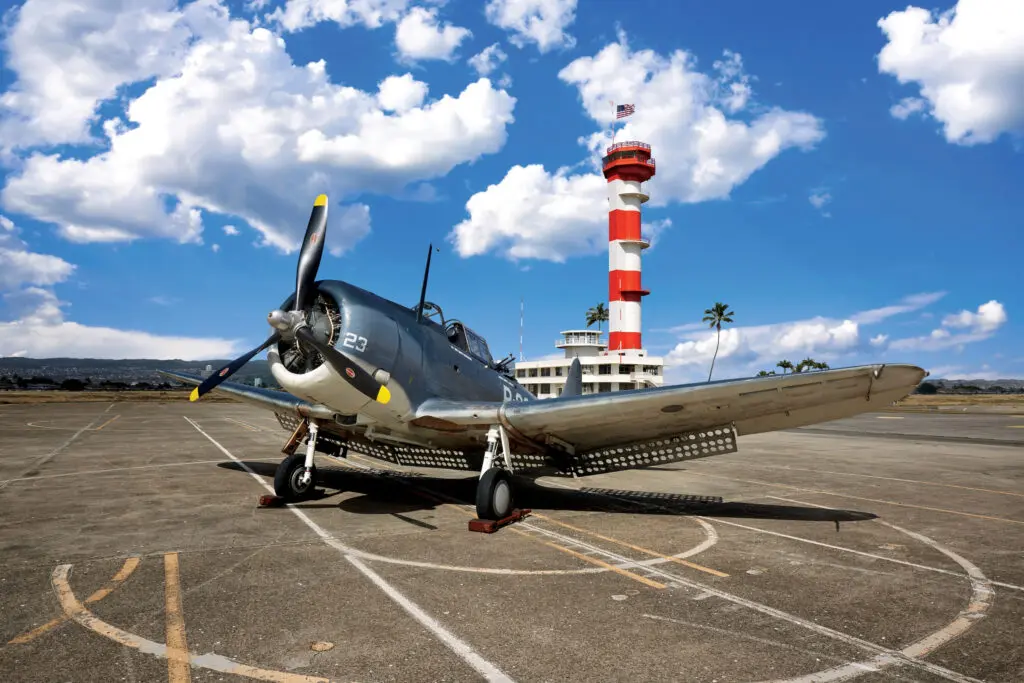
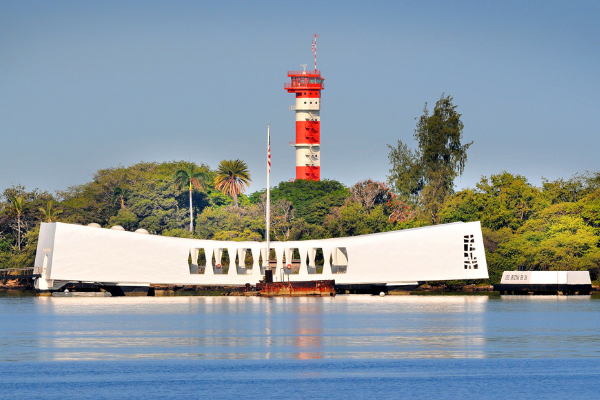
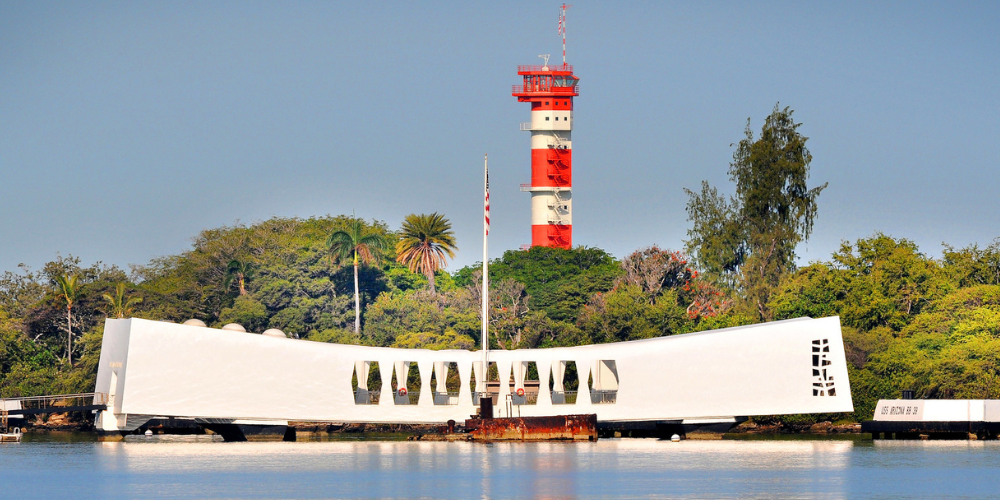
Freedom's View
On Memorial Day 2022, Pearl Harbor Aviation Museum opened the historic Ford Island Control Tower, bringing Freedom’s View to the public....
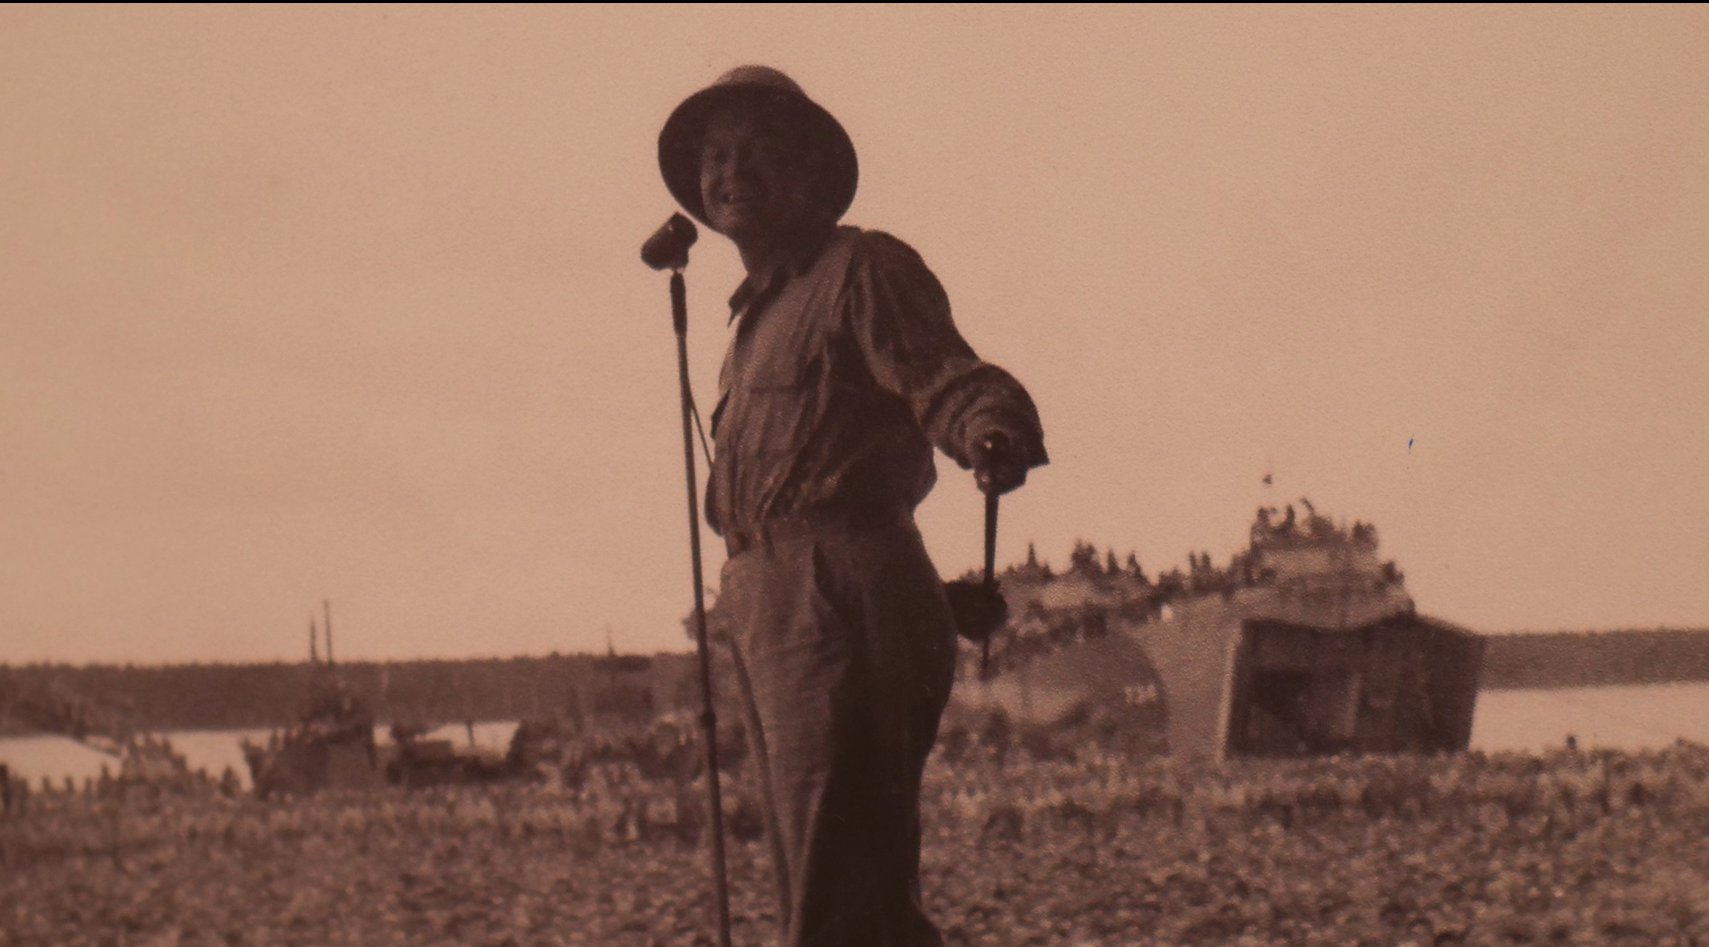
Bob Hope: The Hope of Millions During WWII
Bob Hope was more than just a comedian - he was a beacon of hope for millions of people during the darkest days of WWII...
Unveiling Maui In Wartime: Pearl Harbor Aviation Museum’s Newest Exhibit
On March, 16, 2023, the Pearl Harbor Aviation Museum celebrated a historic day with the official opening of its newest exhibit Land, Sea, Air: Maui in Wartime...
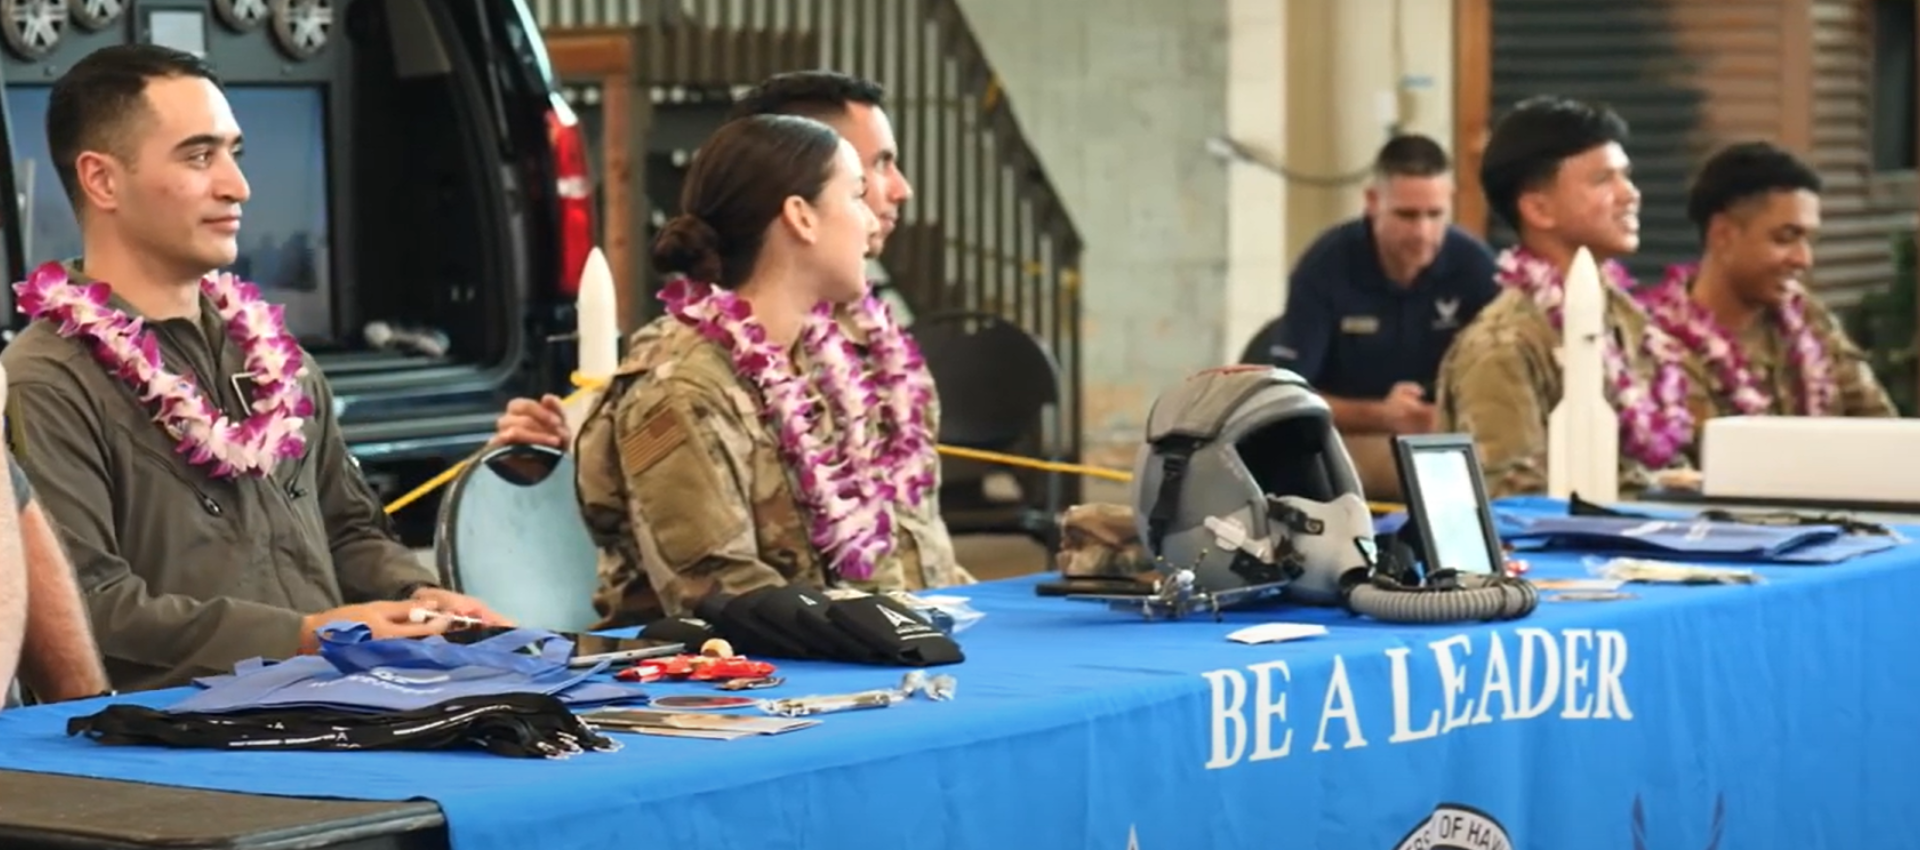
Discover Your Future In Aviation Day
On Saturday, February 18th, Pearl Harbor Aviation Museum hosted its inaugural "Discover Your Future in Aviation" career day event, in partnership with Women in Aviation Aloha Chapter...
Five Reasons to Visit Pearl Harbor Aviation Museum in the New Year
What better way to kick off the new year than to plan your vacations! Treat yourself to a year full of adventure and travel, and choose Hawaii as your top destination...
Recap of December 2022 Events
What better way to kick off the new year than to plan your vacations! Treat yourself to a year full of adventure and travel, and choose Hawaii as your top destination...
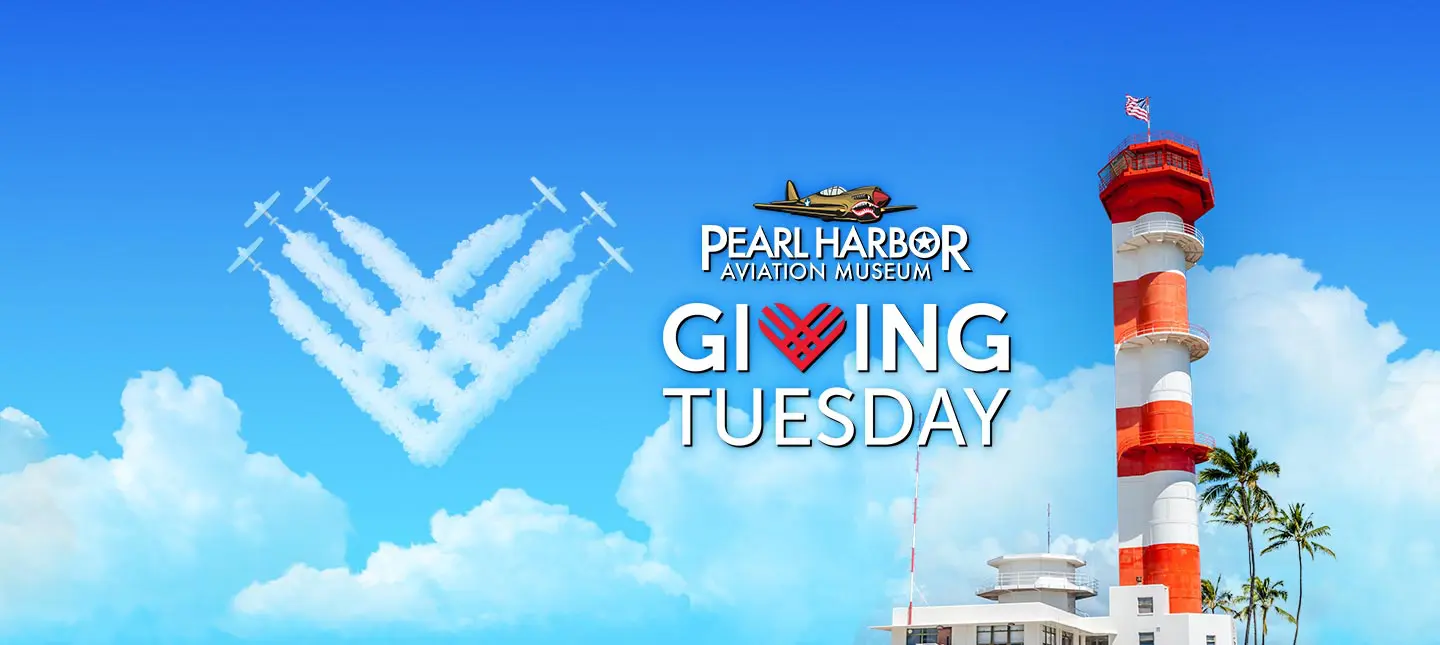
Help Us Reach Our Giving Tuesday Goal
With your help, Pearl Harbor Aviation Museum hopes to honor the past and inspire our future, today on Giving Tuesday...

Pearl Harbor Aviation Museum’s 2023 Scholarship
Pearl Harbor Aviation Museum is committed to providing scholarship support to aspiring aviation individuals. Fulfilling the mission and vision of our donors, scholarships are awarded each year to help inspire multiple achievers reach their full potential...

Refuel At Our Hangar Café!
After a few hours of historical site-seeing and strolling outdoors in the Hawaiian sun, everyone wants the same thing; a cool spot inside to sit down, a cold refreshing drink, and a bite to eat to satisfy their hunger...
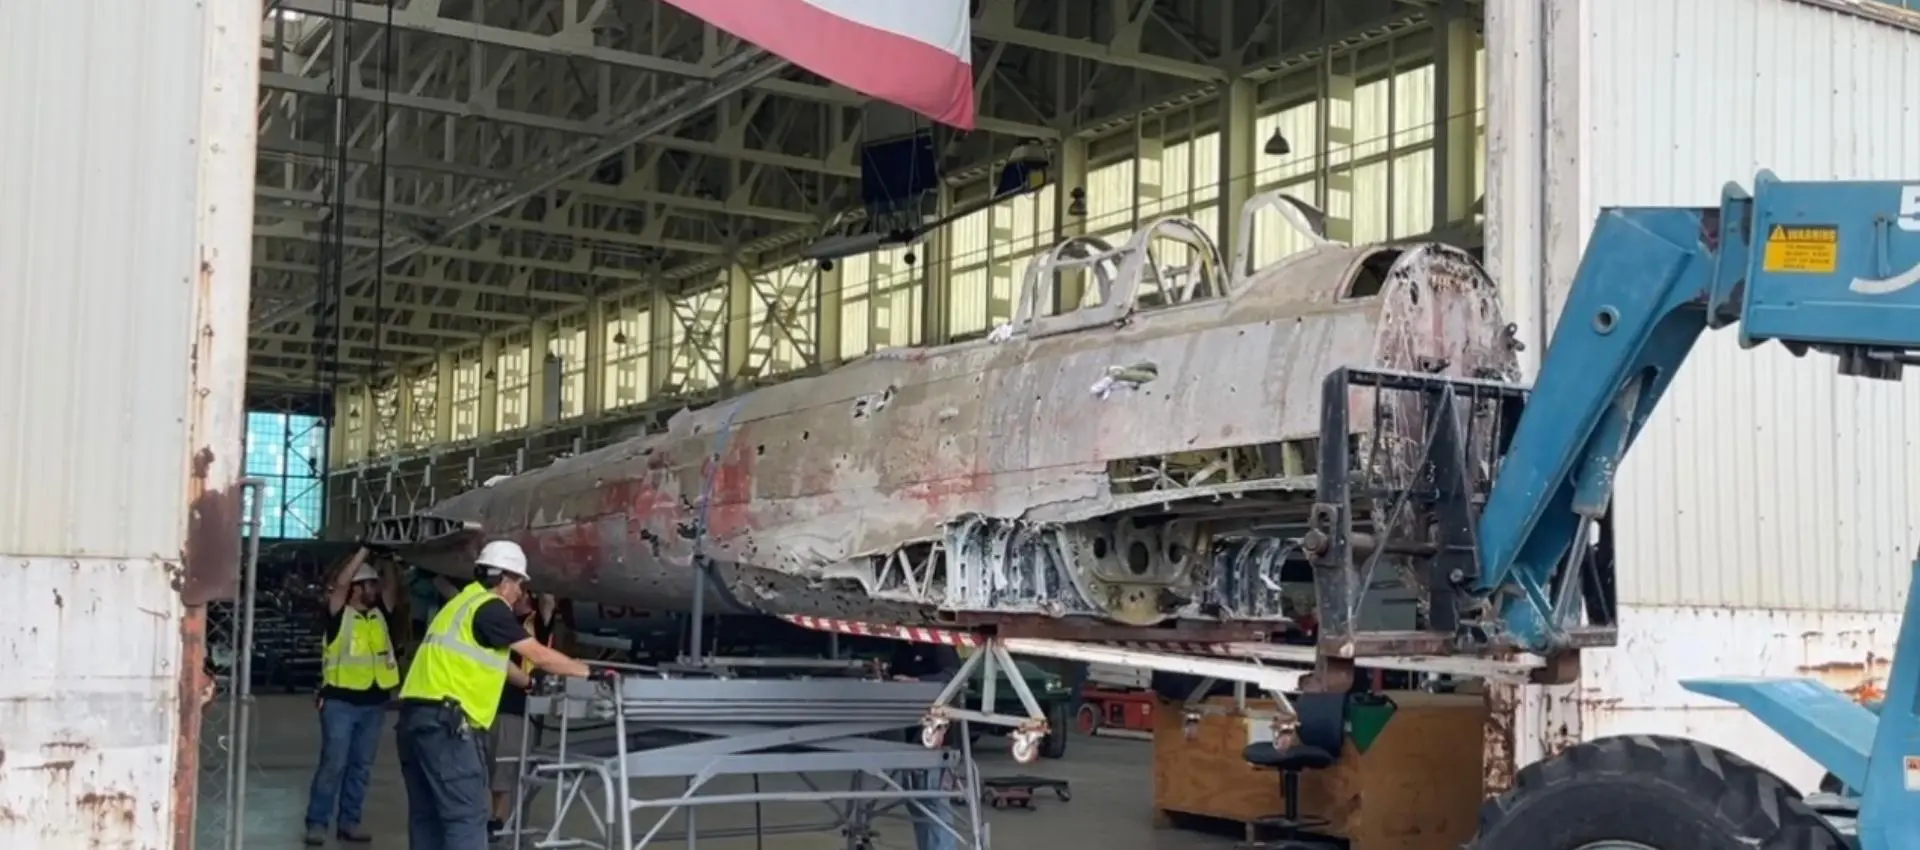
Our Newest Acquisition Is Here
The Val Has Arrived! For the first time anywhere in the country, Pearl Harbor Aviation Museum will display all three...
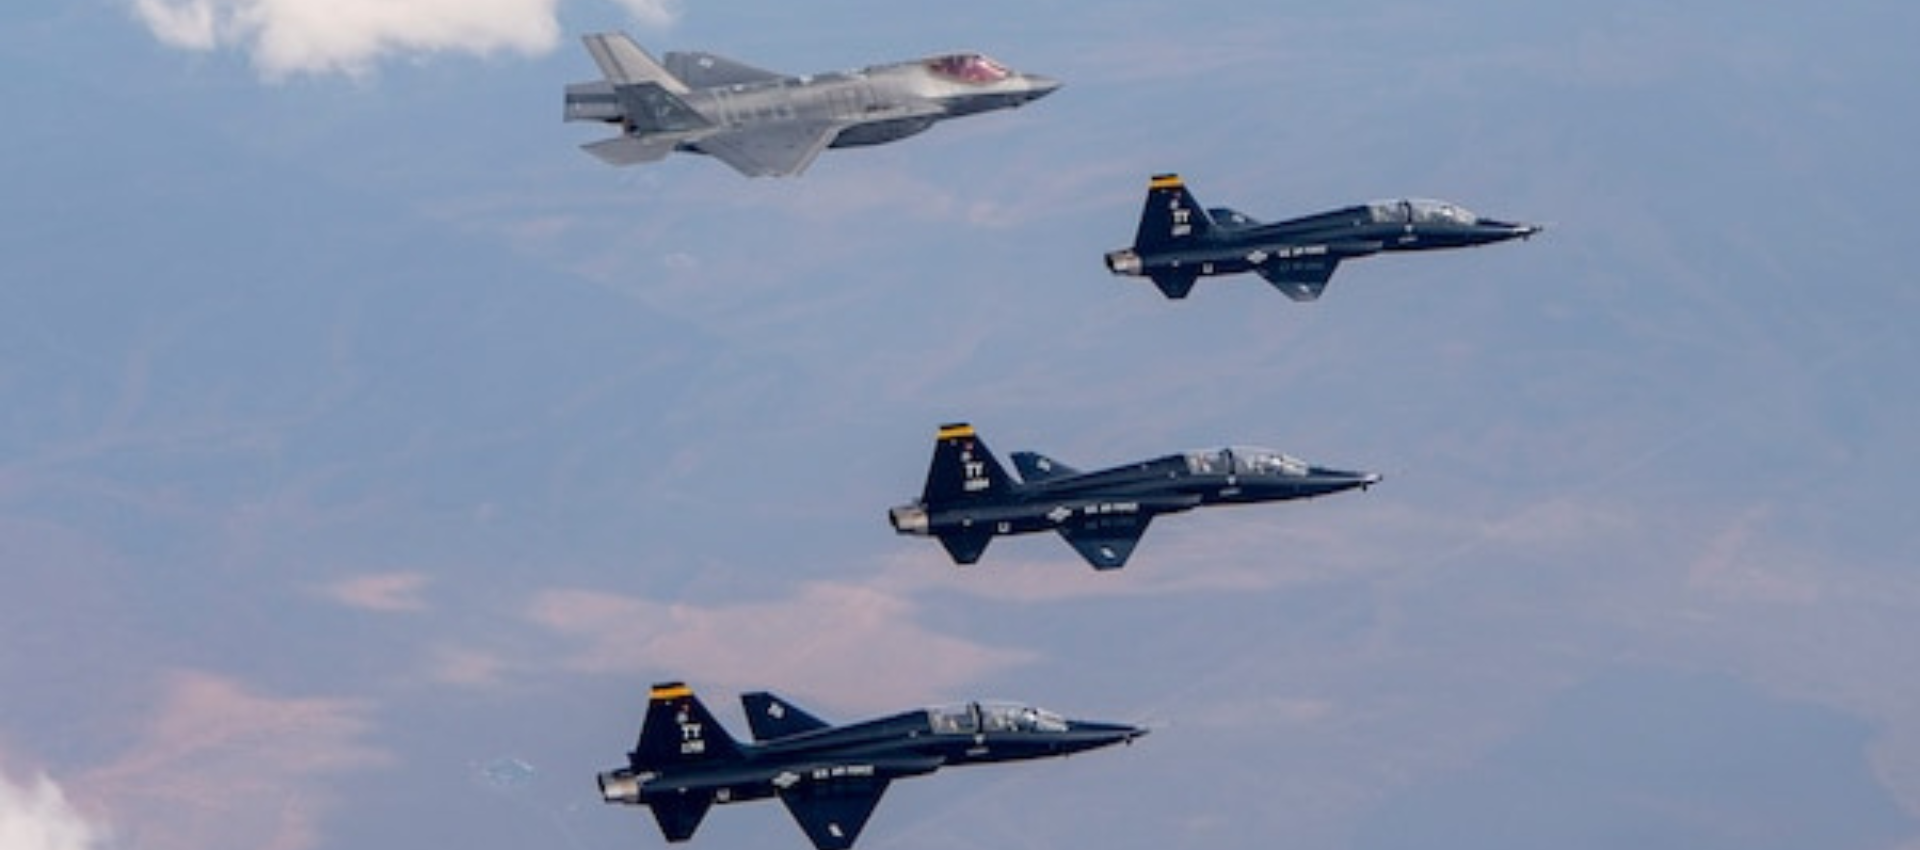
Happy 75th Birthday To The USAF
We thank all the honorable Air Force members that have served and continue to serve to help keep the strong and unequivocal capabilities in the skies to support America’s national defense needs...
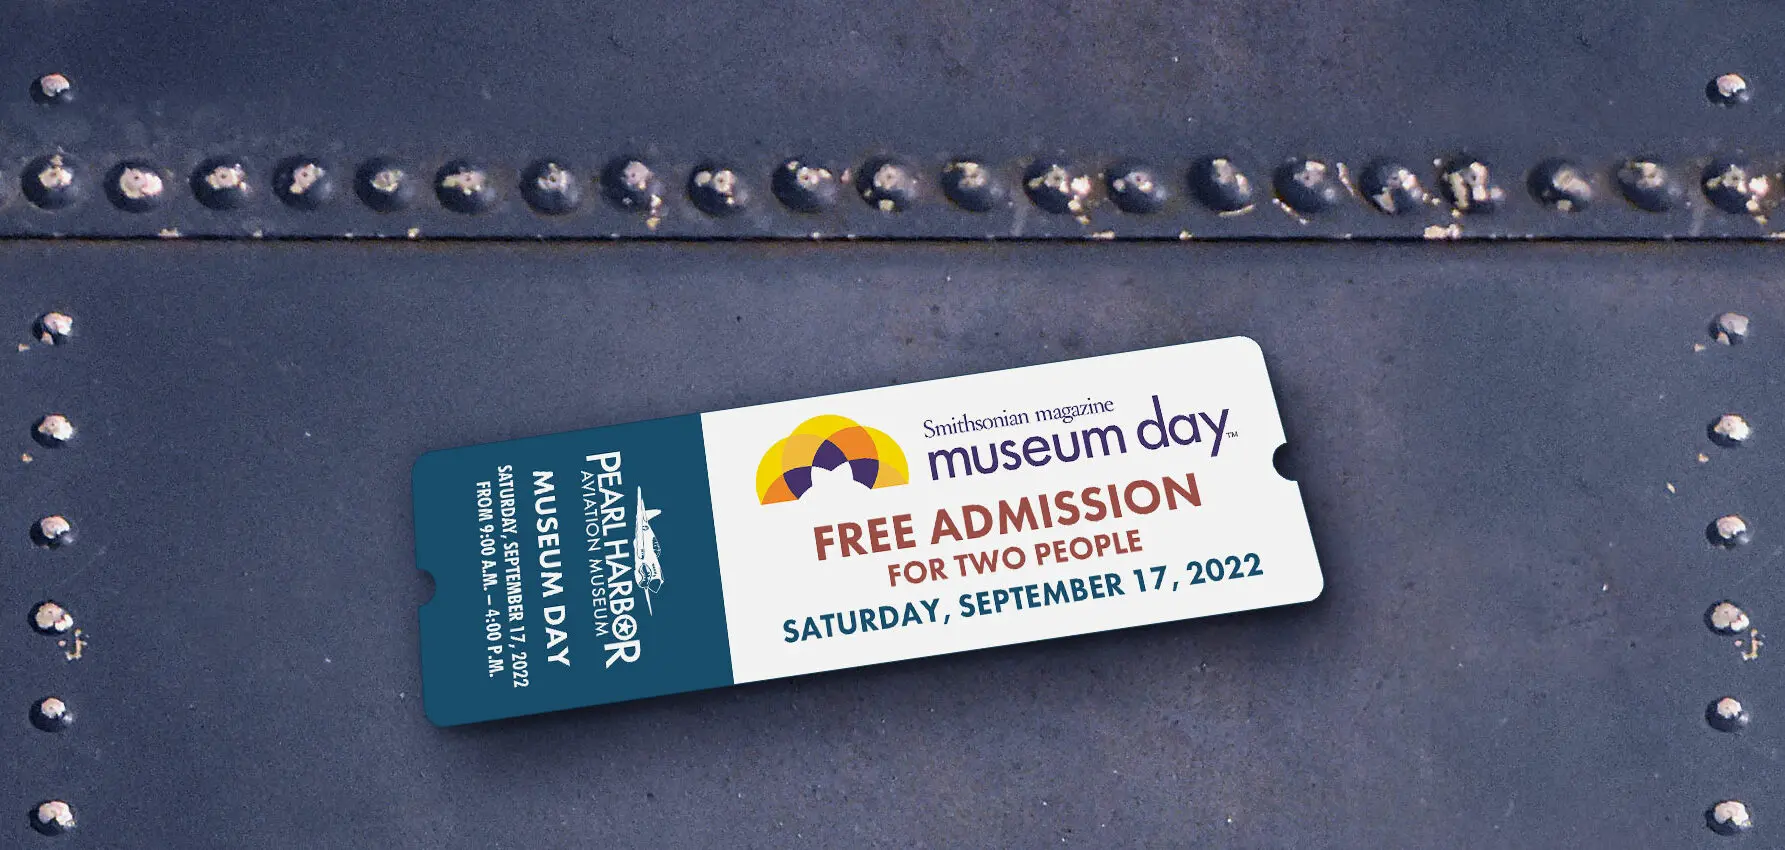
Seven Reasons You Should Be Joining Us For Museum Day
Visitors of all ages are invited to participate in fun activities including open cockpits, aviation activities, scavenger hunts, a Rosie the Riveter costume contest, and so much more...
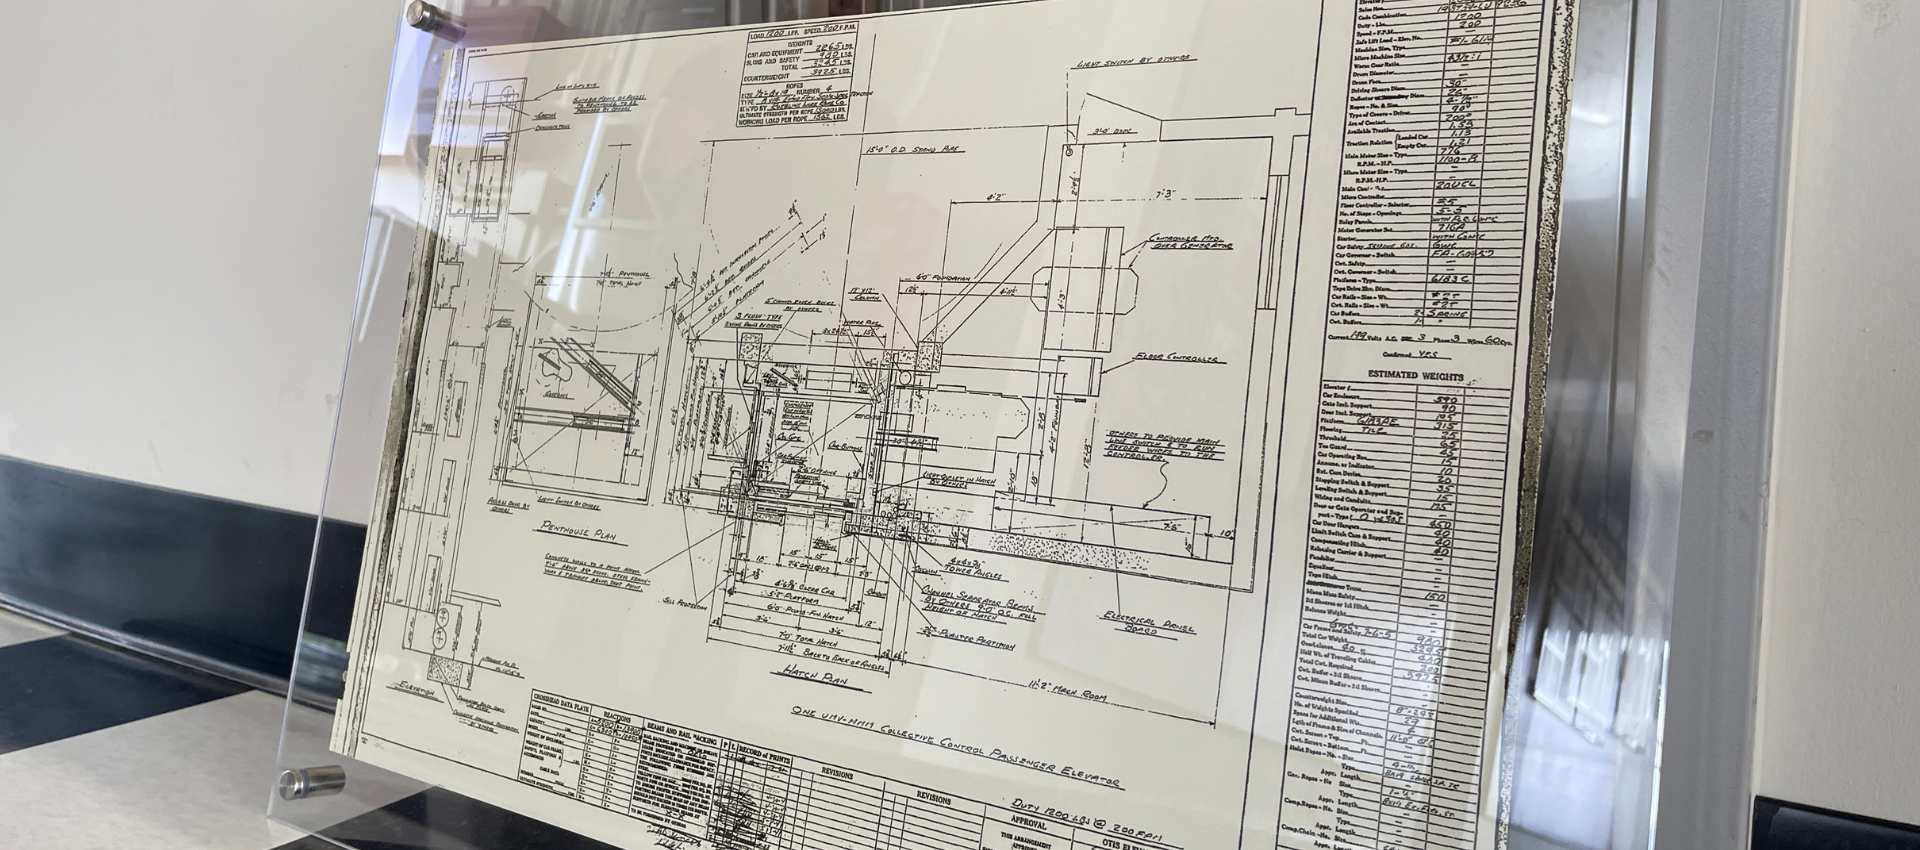
Historic Elevator In The Ford Island Control Tower
How preserving historic documents helped bring the iconic elevator back into operation…
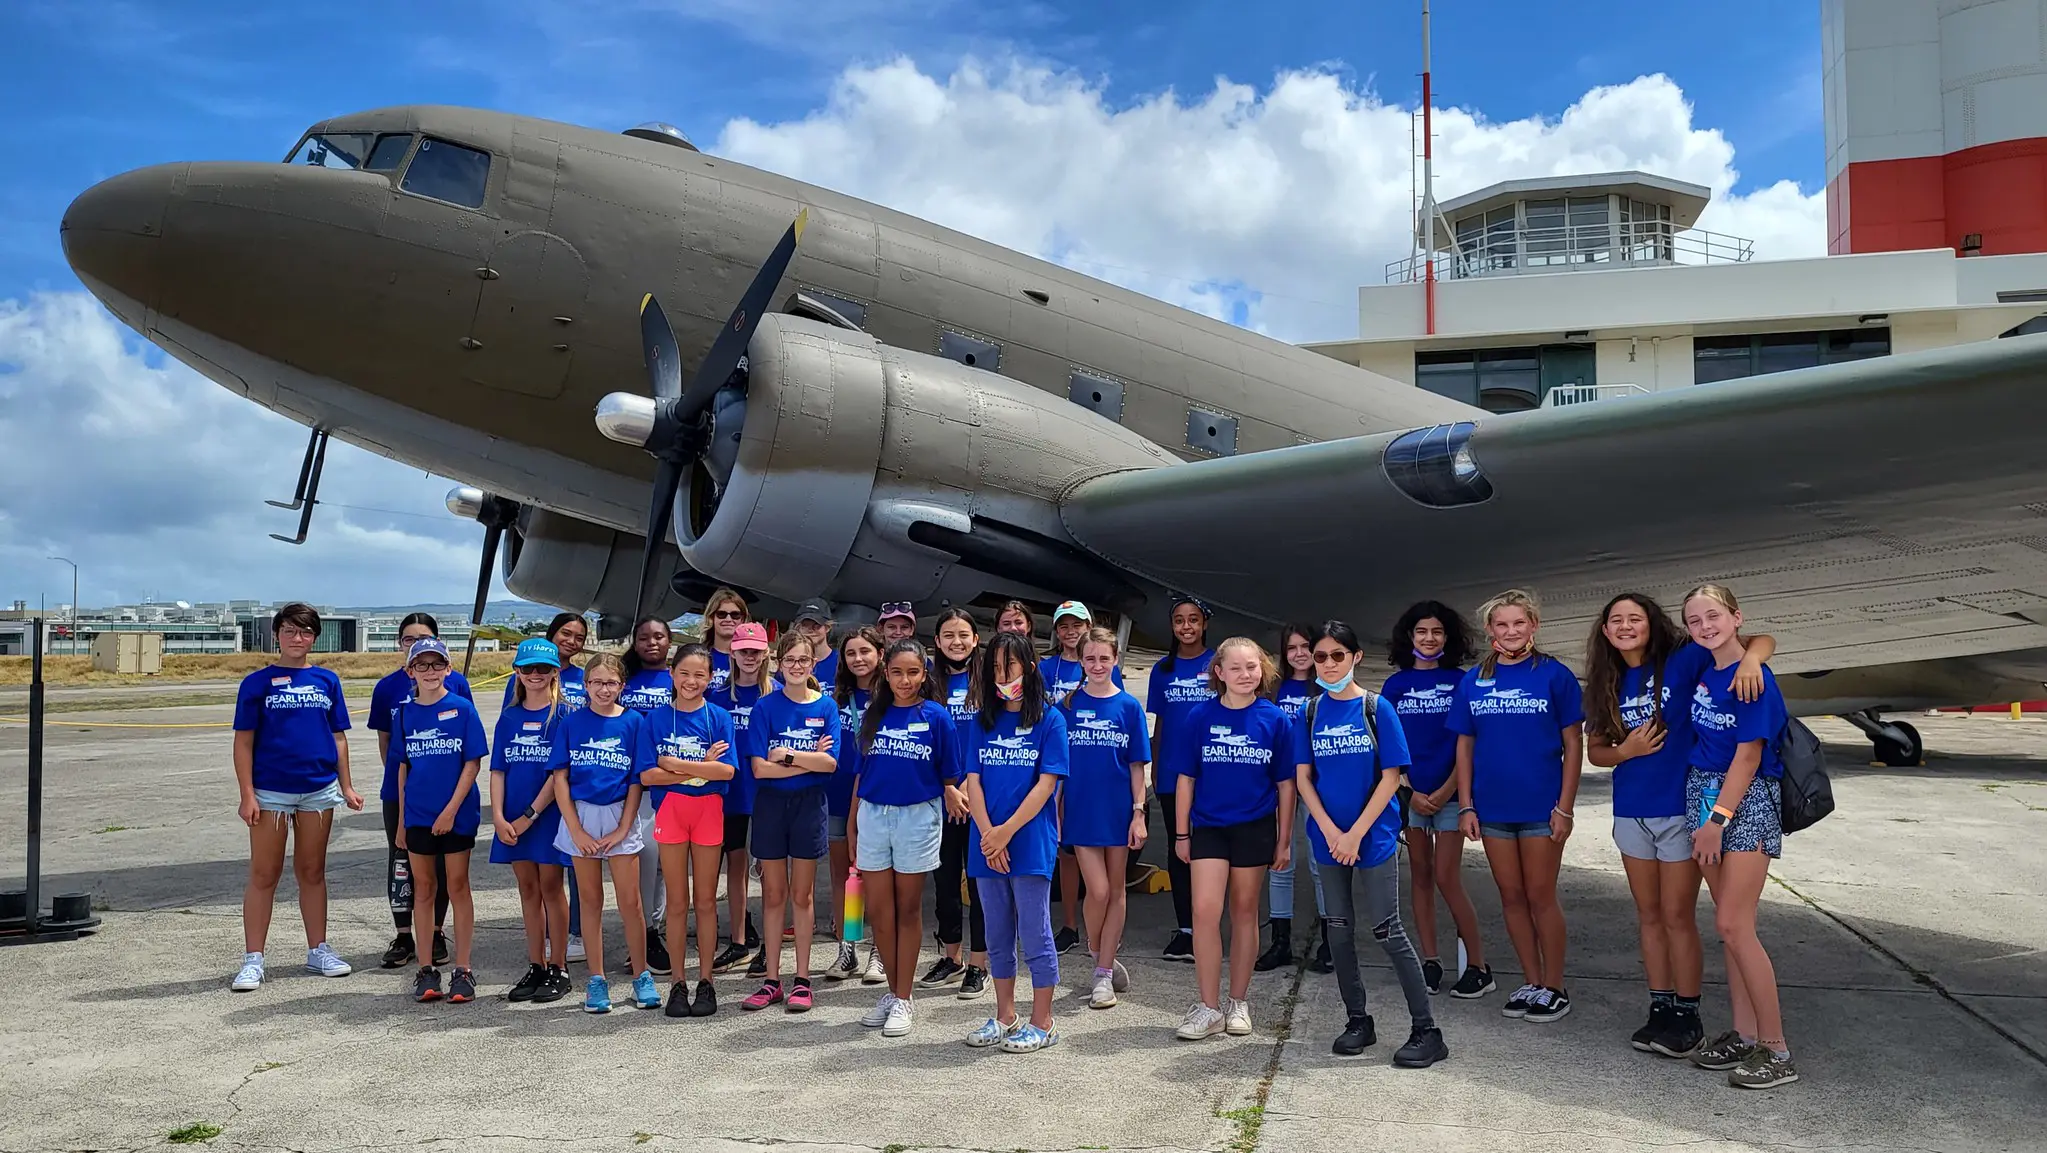
Summer Camp Recap
Each year, Pearl Harbor Aviation Museum hosts 3 summer programs welcoming students of all ages to explore STEM, aviation, and history on America’s WWII aviation battlefield...
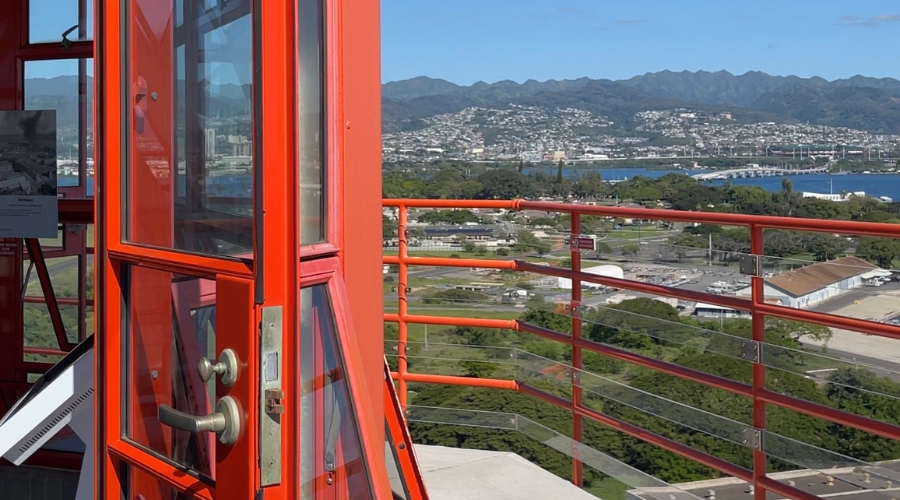
Top 5 Reasons To Visit The Ford Island Control Tower
Now open to the public, you will not want to miss the Ford Island Control Tower at Pearl Harbor Aviation Museum on your next visit to Pearl Harbor...
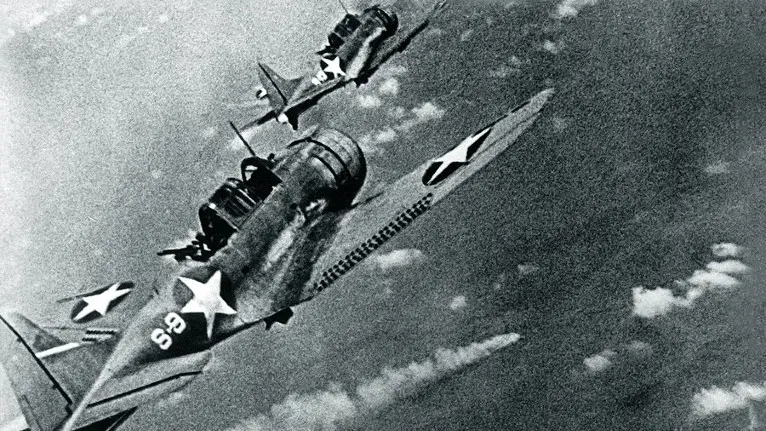
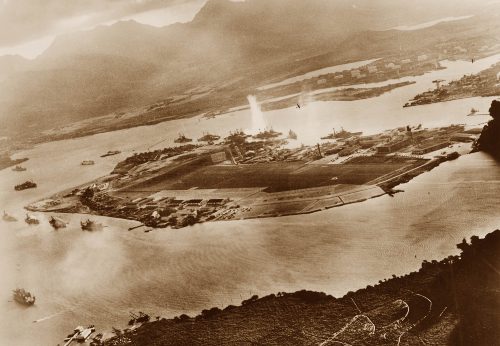
80TH Anniversary of The Battle of Midway
The Battle of Midway (4-6 June 1942) was one of the most critical battles of WWII, and one of the most one-sided battles in all of history, although at a very high cost for the U.S. pilots and aircrewmen that gained the victory...